Moving soon?
Use our checklist.
Whether you need to secure internet or find a moving company, our countdown checklist will get you organized and ready to move.


Moving? Here’s Your Ultimate Final Walk-Through Checklist

Moving soon? Get organized with our free moving checklist.
You’re almost there. It’s the homestretch of buying your new house, townhouse, or condo. The final walk-through is your last chance to review your new home and property from front to back and make sure you are satisfied before closing on the house. Arm yourself with this new home final walk-through checklist so you don’t overlook any crucial details — and that there are no surprises when you get your keys to your new home.
What is a final walk-through?
Before we get to your final walk-through checklist, it’s important to understand the differences between the final walk-through and the home inspection you recently completed.
A home inspection gives you the opportunity to request that the seller complete any home repairs that are needed. At the final walk-through, you have the opportunity to:
Confirm that the agreed-upon repairs from the home inspection have been completed.
The home’s condition hasn’t changed since the inspection.
The property is in satisfactory condition.
It’s especially important to conduct a thorough walk-through if there has been a major storm, rain, or strong winds since the inspection. The final walk-through is one of the last tasks you need to complete before closing on your new home — typically on the day of closing or shortly before, after the seller has moved out.
Who attends the final walk-through?
You’re anxious to close. You might be tempted to skip your final walk-through, but it’s important that all buyers attend and actively participate in the final walk-through — and cover off on all of the checklist items. Your real estate agent will also attend the walk-through with you.
What to bring to your final walk-through?
There are a few essential items you should bring with you to the final walk-through on your new home. These items will help you to take notes (either for the seller or your own personal records), take photos of any damage, and reference the terms you agreed to in your contract.
The contract. Make sure you have a copy of your contract with them during the walk-through for reference.
A notebook. Take detailed notes with date and time to stay organized.
A phone or camera. Document the condition of your new home.
Your phone charger. It will keep you from running out of battery while taking pictures – and you can use it to test your electrical outlets.
The inspection report. Having the inspection report will remind you what the seller agreed to repair – so you can make sure it was done. Pro tip: Request from your real estate agent that the seller provides you copies of receipts and warranties from the agreed-upon work that was completed.
Blue painter’s tape or sticky notes. If your home is new, you can use blue painter’s tape to mark any unfinished areas for the builder. Otherwise, sticky notes are a good way to mark problem areas for the seller’s reference.
Your agent! Make sure your real estate agent comes with you to your final walk-through, especially if you are a first-time homebuyer. They’ll help make sure you cover off properly on all of your checklist items.
What to look for during your final walk-through?
It’s the big day. You’ll want to have a game plan with your real estate agent to make sure you cover every area of the home. Work from top to bottom going, room by room until you’ve checked out every room in the house (don’t forget the basement, attic and crawl spaces!).
A typical walk-through should take around 30 minutes to complete. Make sure to check these tasks off your list.
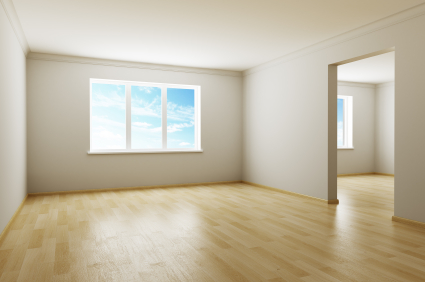
Look in every direction: walls, floors, and ceilings
Damage can often occur during the moving process or be revealed after the seller moves out. Once the artwork, televisions, and decorations come off the walls, nail holes, bracket marks, peeling paint, and other damage may be obvious. Scratches on the floor or stains hiding beneath carpets can emerge when the furniture is gone. And water damage from removing appliances can appear.
Inspect all of these problem areas and see if there is any large-scale damage that needs to be addressed with the seller.
Open all windows and doors
When you enter each room, make sure all of the windows, doors, locks, and latches are functional. Windows and doors should open smoothly and should not be painted shut — it’s a fire hazard. Also, check if the screens, blinds, and any window coverings work as intended. This sounds like a big task, but breaking it up by room and working as a team will make it go quickly. And don’t forget to check the garage doors.

Check all of the water fixtures
Test all of the water fixtures in the home and on the property. This includes kitchen sinks, bathrooms, the basement, toilets, showers, hoses, irrigation systems, and pools. Make sure faucets turn on smoothly, drain properly, and have hot and cold water. Is water pressure sufficient? Check if toilets flush properly, and be sure nothing leaks. These areas are also good places to check for water damage.
Inspect the kitchen and laundry room
These two rooms are home to some of your most-used appliances. Test the appliances to ensure they’re still in working order — refrigerator, stove, dishwasher, microwave, washing machine, dryer, garbage disposal, etc. Also, make sure to check behind (and under) the refrigerator, dishwasher, and washing machine to ensure there are no signs of mold or water damage.
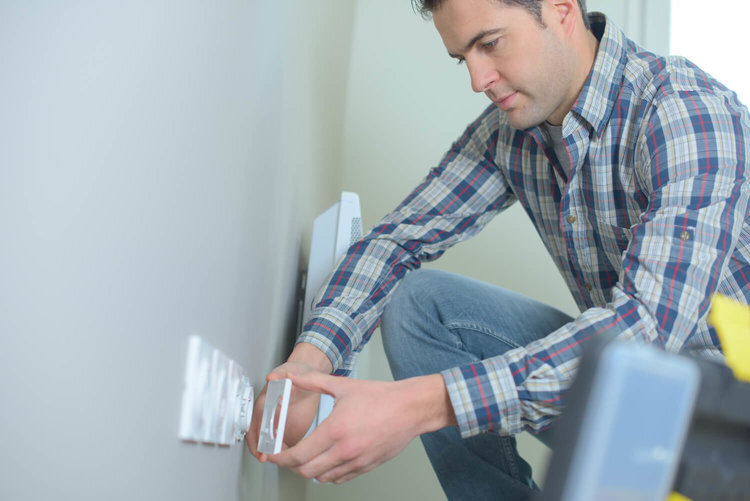
Test the AC, heat, and electrical systems
Whether it’s the dead of winter or the middle of summer, you should test both the air conditioning and heating systems for functionality during the final walk-through — including the thermostats. You should also check light switches, ceiling fans, outside lights, doorbells, security systems, any outlets connected to light switches, and any other electrical elements in the home.
While you’re in the basement, check the circuit breaker to make sure it’s functional and accessible.
Watch out for pests
While you are going through each room of the home, keep an eye out for any signs of pests. Rotting or cracked wooden beams can be home to termites or other pests, while droppings in the basement or attic can be a sign of infestation. These concerns should be cleared up with the seller before closing.
Check in on fixtures or included property
Make sure you account for all fixtures and personal property included in the home purchase agreement and that you understand the difference between the two. A fixture is a permanent part of a home or attached to the home itself (e.g. light fixtures, ceiling fans, mailboxes, landscaping, or door knobs). Personal property is anything that the seller could take with them (like lawn furniture or appliances).
Make a list of any personal property that you negotiated to be purchased along with the home. Make sure these items or appliances are undamaged. The same goes for any fixtures in the home. Afterward, check for any unwanted items that are not included in the purchase and should be removed by the seller. This could include personal items, unwanted furniture, or construction materials.
Don’t forget the exterior of the home
After you inspect the inside of the home, move on to the outdoor portion of your final walk-through checklist. Walk around the perimeter and the outside of the home to ensure everything is shipshape. This includes any precarious-looking trees near the home, the siding, roof and gutters, the shrubs and other landscaping, and any fences on the property.
Verify the inspection repairs
While the final walk-through is not an opportunity to add to inspection repairs, it is the time to confirm the home’s repairs are complete. Use your inspection report to remind you of the specifics for your new home.
What can buyers demand at final walk-through?
You have the right to call foul if the seller has not completed the repairs you agreed upon after the home inspection, if there is new damage to the property, if fixtures or personal property are missing, etc. In this case, you have the right to renegotiate with the seller — and postpone the closing if necessary. This includes backing out of the deal if you can’t come to an agreement.
Is the seller responsible for any repairs after closing?
The only way you’ll get the seller to fix or pay for any repairs after closing is if you’re able to prove that the seller withheld information about the home’s condition. Since this is the exception rather than the norm, make sure you cover off on all items of this walk-through checklist before closing.
Since it’s your last shot to get everything as you want it, make sure you’re prepared for your final walk-through of your new home. With this final walk-through checklist in hand, you’ll have the tools you need to thoroughly inspect and record the status of your new home — and feel confident that the home you fell in love with is the home you walk into on moving day.
Moving soon? Get organized with our free moving checklist.
Internet and TV tips
Switching providers and don’t know where to start? We can help.